9 Ways to View Designs in EmbroideryStudio
9 ways to view designs in EmbroideryStudio and when to use the different options
Wilcom’s EmbroideryStudio suite is a set of comprehensive programs with several ways to achieve similar results. This article will discuss the different ways to VIEW and work with your designs.
The many viewing modes will facilitate your design work. Your role in the production process may dictate which options are best for you. It will come down to whether you are editing a design, carrying out a production check, or digitizing and viewing for overall aesthetics.
Let’s get started
View Embroidery Components
^ ^ ^
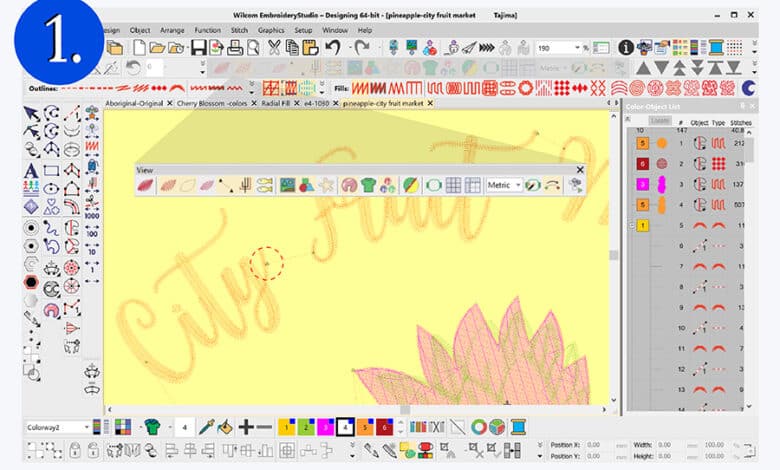
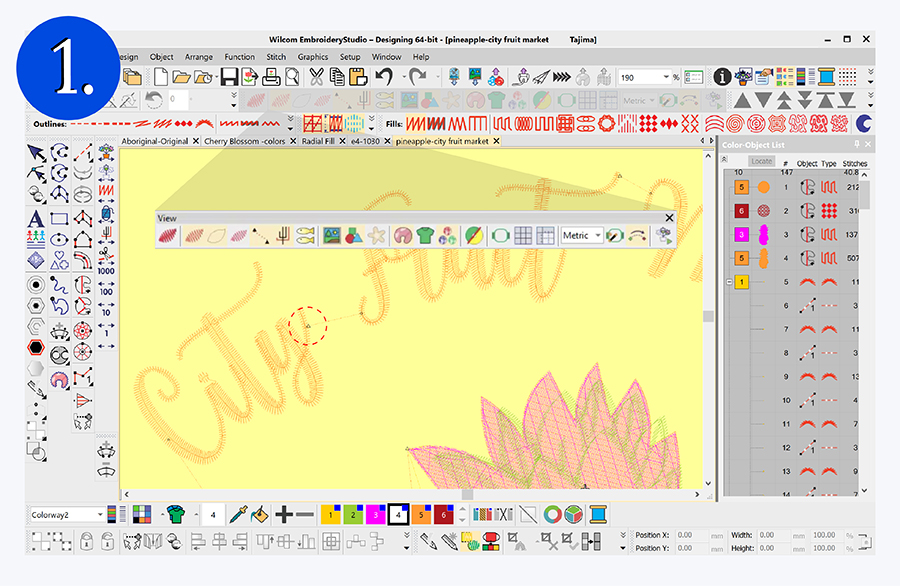
The View Toolbar will become your best friend and is the most used toolbar in EmbroideryStudio. Alternate between ‘artistic’ and ‘technical’ views easily, or use a combination of views for extra detail. The TrueView option is for presentation purposes. Get a sense of what the finished embroidered design will look like in the correct thread colors. Use the Stitch View to see individual stitches and the Outline View to see shapes and objects. The last 3 viewing options are more technical and are used to see needle points, connectors, and functions, such as trims and tie-offs. These viewing options can be used individually or in combination.
Tip
To quickly view trims, toggle on the Show Connectors and Show Functions. Trims are easily identifiable by small triangular shapes.
Tip
The TrueView feature is the only option that works independently.
View Graphical Components
^ ^ ^
Another hugely popular Viewing option is the Show Bitmap or Show Vector tools. Once a design has been digitized, you can keep the graphics with the EMB file, only turned off. The graphic is still there, only not a distraction to the embroidery design. It is still visible in the Color-Object docker.
The Product backdrops can be added at any time to help visualize the position of a logo. The product size corresponds to the design dimensions for accurate positioning. Quickly turn on or off when required. You can choose to include the product backdrop in the production worksheet / summary or focus on the embroidery design alone.
Tip
Use the Dim function to lighten the bitmap image when digitizing so that you can see the stitches more clearly.
Zoom and Pan Designs
There are several ways to zoom and pan across the workspace. My favorite is the shortcut ‘B’ to marque an area to zoom in, and shortcut ‘P’ to pan. If you are working with large designs and constantly zooming and moving around the screen, it might be worth opening the Zoom toolbar and positioning it on the screen.
Alternatively, use the Overview Window to pan and zoom while viewing the entire design. You can adjust view settings independent of the design window.
Tip
You may also set up your own unique zoom action with the mouse wheel. Go to Set-up and Options and go to the scroll tab
Tip
SHORTCUT: Type ‘0’ to quickly fit in a window or ‘1’ show the exact size.
Set-up Multiple Views
^ ^
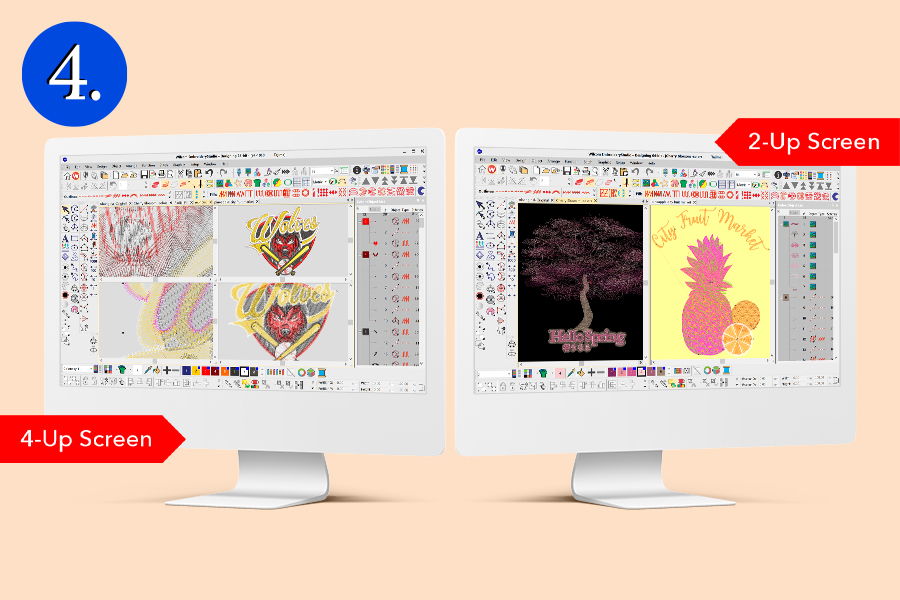
It’s possible to have multiple views of the same design in a single design window. You can choose to use the Split Window command for highly detailed work. Here each window works independently, so you can have them set up differently with different views. Each viewing pane is easily adjustable, just like adjusting any EmbroideryStudio window.
View Selected Objects and Color blocks

^
There are many ways to isolate a color or selection, either on screen by holding down the color chip or selecting your chosen color in the Color-Object list. The Hide object command is another great way to remove the noise and focus only on what you need.
Tip
Select the objects you want to view and select SHIFT + S (all other objects will disappear from view). ESC and select SHIFT + S again to go back to standard view.
Tip
Right-click in the Color-Object list and select Unhide All
View Stitching Sequence
^ ^
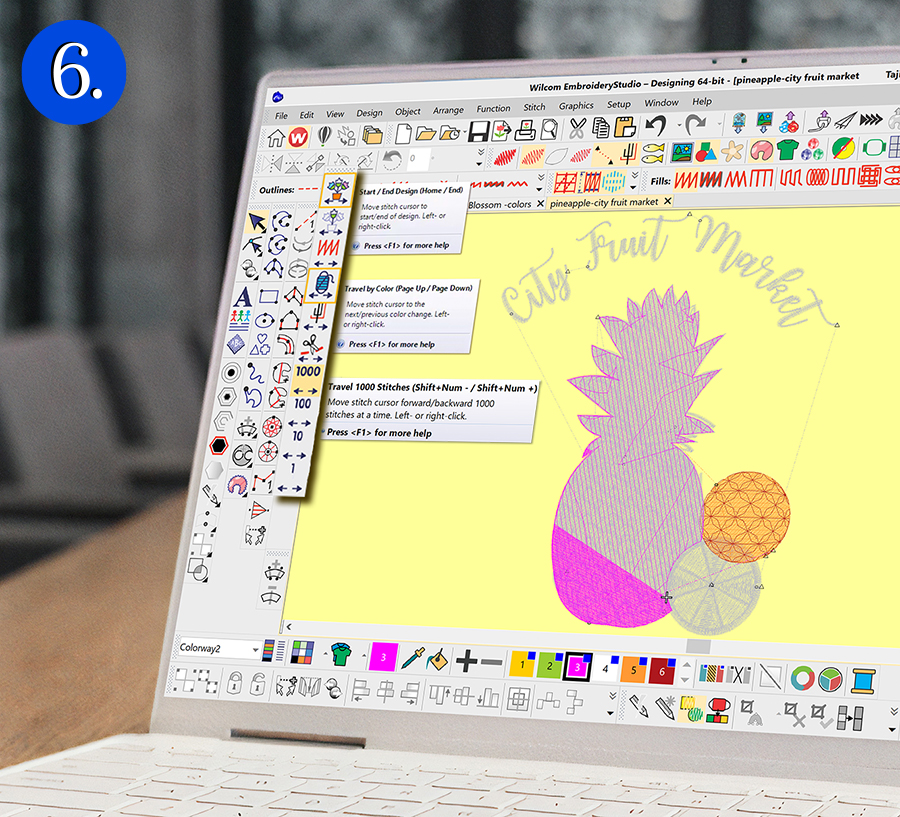
The Travel toolbar has been an old favorite. It will help you understand if the design will stitch out correctly on the machine. You can choose to view the stitch sequencing color-by-color, object-by-object, or by 1000 or fewer stitches at a time. Very quickly, you can ascertain if the design will run efficiently. Travel forwards and/or backward as you need using right and left mouse clicks.
Tip
The Travel toolbar does not work when your design is in TrueView mode.
Tip
To see your design run from start to finish, use the Stitch Player instead and create a virtual stitch out on the screen.
Change Background

^ ^ ^
The background color can be changed for each colorway just as quickly as it is to change thread colors. The background color is essential to view the embroidery design on the correct color of the finished product or garment, allowing color mistakes to be picked up quickly. No one wants black words or letters on a black garment. There is also an option to add fabric texture to the background for a more realistic effect. The background color or product information is always with the unique colorway. Always available for future use. Available with production and approval worksheets.
Tip
The background color, threads, and design information are saved with the EMB file.
View Design Repeats
^
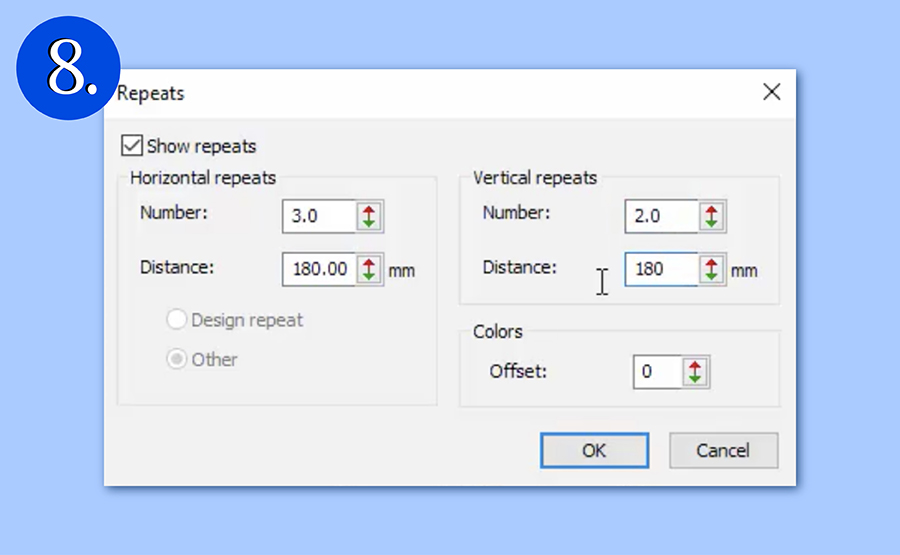
The Show Repeats display is essential for designing a massive saree fabric or smaller repeating objects. The repeating designs can be changed on the fly, with each repeat showing the change. Easily toggle on and off while digitizing.
View Design Information
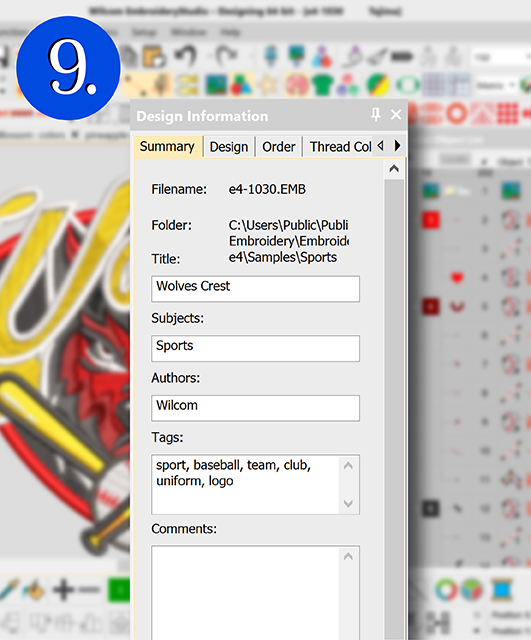
All the information you have saved with the design file is available and can be printed with the embroidery design for your production team. The design size, color sequence, thread colors, and stitch count are saved in the Design Information docker.
You might also like to tag designs with plot numbers, customer detail, or categories for searchability later.
e.g. A Basketball club could be categorized under ‘sports’.
Tip
If you have EmbroideryStudio installed on your computer, you can preview the EMB file in Explorer, and EMB detail is available in Properties for faster detection.